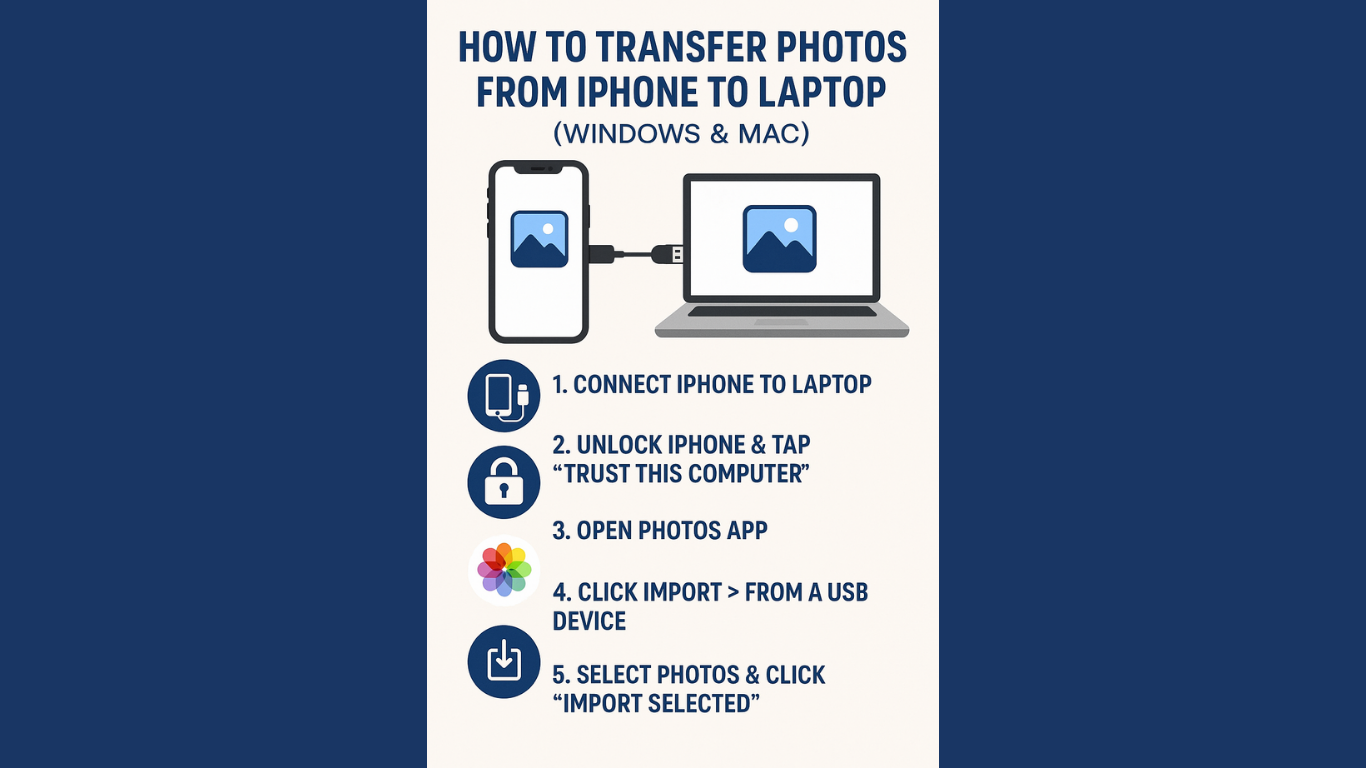
How to Transfer Photos from iPhone to Laptop (Windows & Mac) – Step-by-Step Guide
How to Transfer Photos from iPhone to Laptop. Is your iPhone constantly running out of storage? Want to keep your precious memories safe by backing them up on your laptop? You’re not alone. Many iPhone users find themselves stuck with full storage, and transferring photos from iphone to a laptop is a simple solution. In this easy-to-follow guide, we’ll walk you through multiple ways to transfer photos from your iPhone to both Windows and Mac laptops.
Whether you prefer using a cable or going wireless, we’ve got every method covered. Let’s dive in!
✅ Why Should You Transfer Photos from iPhone to Laptop?
Transferring photos from your iPhone to your laptop is not just about saving space. Here are a few good reasons to make it a habit:
- Free up iPhone storage: Photos and videos are some of the biggest storage hogs on your phone.
- Create a safe backup: Avoid losing memories in case your phone is lost or damaged.
- Edit and organize easily: Laptops provide better tools and screen space for editing or organizing.
- Share without quality loss: High-resolution images are easier to share or upload from a computer.
🔧 What You’ll Need Before You Start
Before you begin transferring, make sure you have the following:
- A Perfect working iPhone with a USB or Lightning cable
- A laptop (either Windows or Mac)
- Sufficient free space on your laptop’s hard drive
- A stable internet connection (for cloud-based methods)
Table of Contents
Toggle📥 Method 1: How to Transfer Photos from iPhone to Laptop using a USB cable
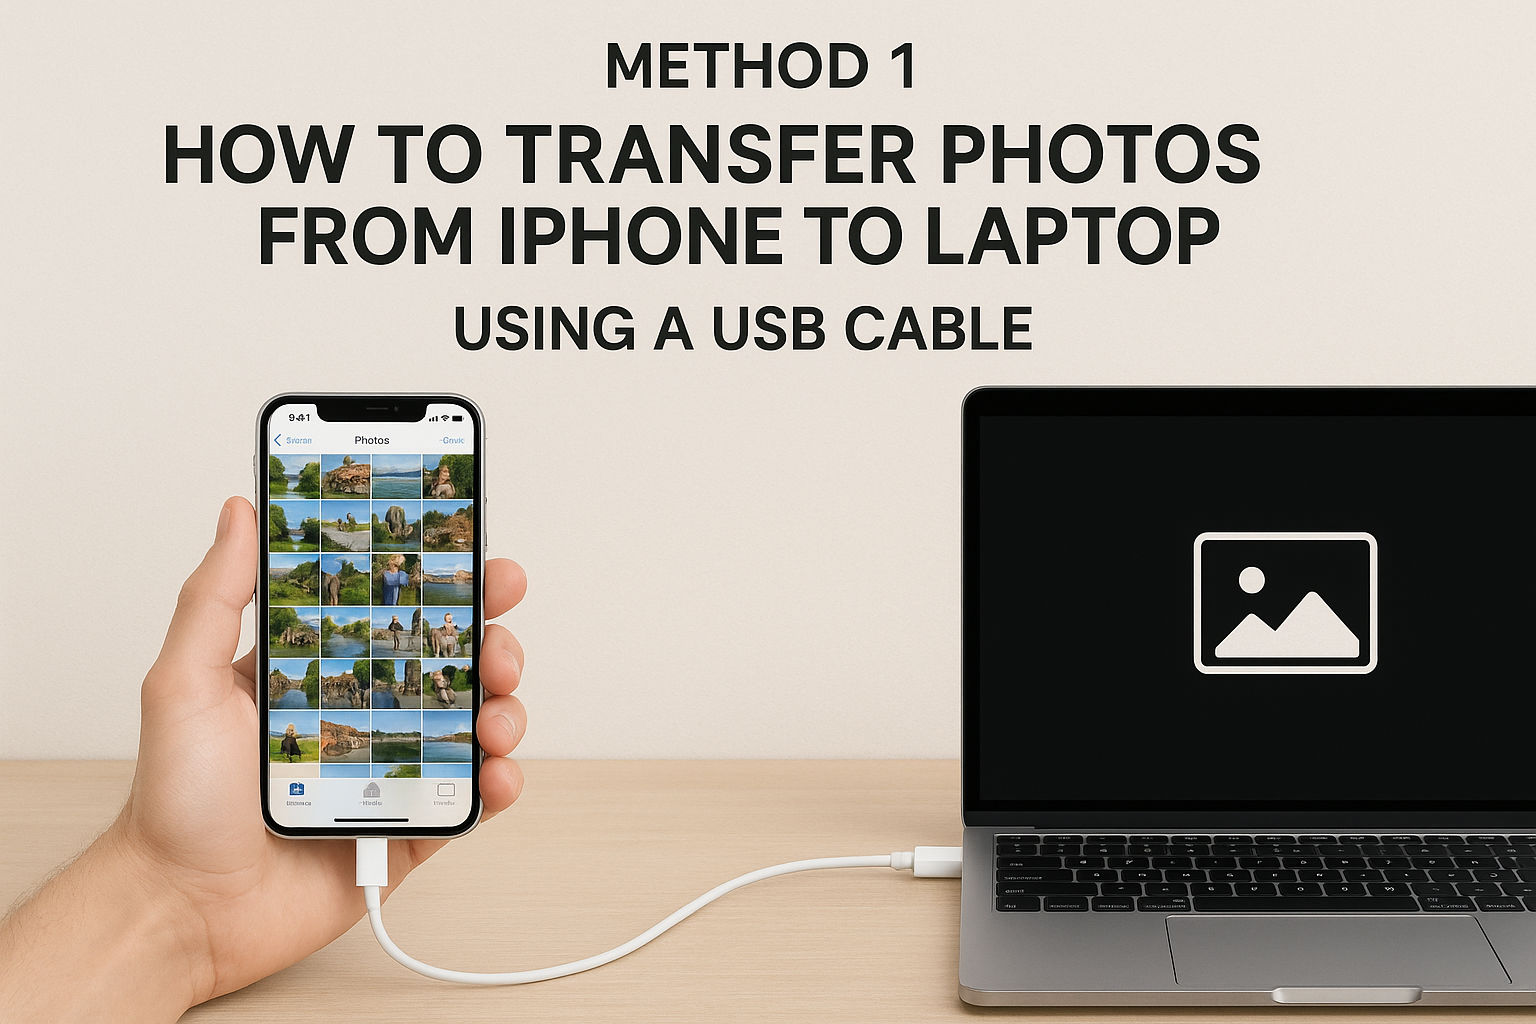
👉 For Windows Laptop
This is one of the quickest and most reliable ways to move photos.
Step-by-step:
- join your iPhone in your home windows laptop using the Lightning to USB cable.Unlock your iPhone and tap “Trust This Computer” when prompted.
- Open the Photos app on your Windows PC (search for “Photos” from the Start menu).
- Click on the Import option (top-right corner) and choose “From a USB device.”
- Your laptop will scan your iPhone for media. Once it’s done, you can choose which photos to import.
- Click Import Selected or Import All to start the transfer.
💡 Alternative Manual Method:
If you don’t want to use the Photos app:
- Open File Explorer (Windows + E)
- Navigate to This laptop > Apple iPhone > inner garage > DCIM
You’ll see all your photo folders here. Simply copy and paste them to a folder on your laptop.
🍎 For Mac Laptop
Mac users will find this process even more seamless.
Step-by-step:
- Connect your iPhone to the Mac using a USB or USB-C cable.
- Open the Photos app (you can find it in the Applications folder).
- Your iPhone will appear in the sidebar under Devices.
- Select the photos you want to transfer or click “Import All New Items”.
- The photos will be imported into your Mac’s Photos Library.
💡 Optional Method:
Use Image Capture (another built-in macOS app) for more flexibility in choosing where to save your photos.
Like more Article:
Oppo A5 Pro 5G – Know the price, features, specifications and launch date of this powerful 5G phone (2025)
☁️ Method 2: How to Transfer Photos via iCloud (No Cable Required)
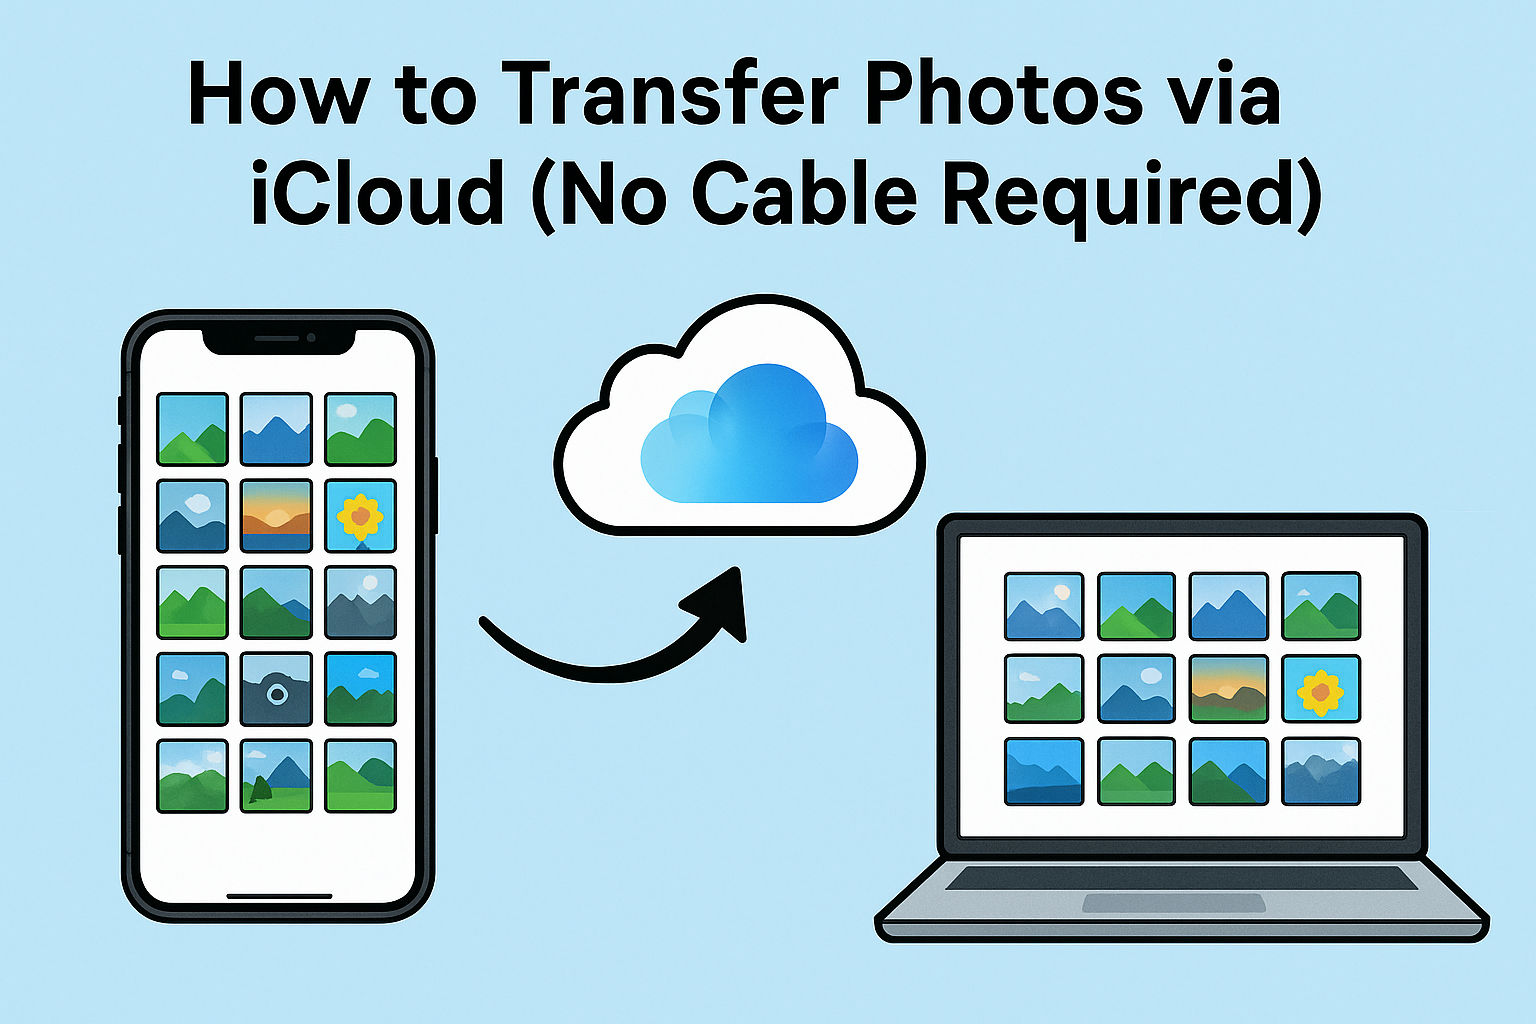
Don’t have a USB cable handy? No problem. You can transfer photos wirelessly using iCloud Photos.
How to Use iCloud:
- On your iPhone, go to Settings > [Your Name] > iCloud > Photos.
- Enable iCloud Photos (make sure you’re signed in to your Apple ID).
- Now, visit com on your laptop.
- Sign in using the same Apple ID.
- Click on Photos, select the images you want, and hit Download.
✅ Works perfectly on both Windows and Mac. Just make sure your photos are uploaded to iCloud (you’ll need a stable Wi-Fi connection).
📶 Method 3: Use AirDrop (Mac Only)
If you’re using a Mac, AirDrop is one of the fastest and most convenient ways to transfer photos wirelessly.
Step-by-step:
- Turn on Bluetooth and Wi-Fi on both your iPhone and Mac.
- Enable AirDrop on both devices:
- On iPhone: Swipe down > Long press on Wi-Fi/Bluetooth area > Tap AirDrop > Select “Everyone” or “Contacts Only.”
- On Mac: Open Finder > AirDrop, and set “Allow me to be discovered by” to your desired setting.
- On your iPhone, open the Photos app and select the images.
- Tap the Share icon, then choose your Mac’s name under AirDrop.
- Accept the files on your Mac when prompted.
📂 You’ll find the received photos in the Downloads folder.
☁️ Method 4: Use Google Photos/OneDrive/Dropbox
Prefer cloud storage? These third-party apps offer excellent flexibility for transferring photos from iPhone to laptop.
Here’s how to do it:
- Install Google Photos, OneDrive, or Dropbox from the App Store on your iPhone.
- Sign in and allow the app to access your photos.
- Choose either manual upload or enable automatic photo backup.
- On your laptop, go to the respective website and sign in to your account.
- Select and download the images you want to store locally.
✅ These options are especially helpful if you use multiple devices or want a wireless solution.
🛠 Troubleshooting Common Issues
Transferring photos should be simple, but sometimes things go wrong. Here are some quick fixes:
- iPhone not showing on PC?
- Try a different USB port or cable.
- Update or reinstall iTunes on Windows (even if you’re not using it directly).
- AirDrop not working?
- Ensure both devices are discoverable and connected to the same Wi-Fi.
- Restart Bluetooth and Wi-Fi on both devices.
- iCloud Photos not syncing?
- Check your internet connection and iCloud storage space.
- Ensure you’re logged into the same Apple ID on both devices.
📂 Bonus Tips for Managing Your Photos
Once you’ve transferred your photos, here are some tips to keep them organized and safe:
- Delete unwanted or duplicate photos to save space.
- Use folders to organize images by event, year, or location.
- Back up regularly to an external hard drive or another cloud service.
- Edit your favorites using desktop software for better results.
📝 Final Thoughts
Transferring photos from your iPhone to your laptop doesn’t have to be complicated. Whether you use a cable, iCloud, AirDrop, or third-party apps like Google Photos, you have several flexible options. The best method depends on your device, internet availability, and personal preference.
By following this guide, you’ll be able to:
- Keep your iPhone free of clutter
- Secure your memories
- Organize your photo library more efficiently
So go ahead, pick your preferred method, and start transferring!
❓FAQs – Frequently Asked Questions
Q1. Can I transfer photos from iPhone to laptop without using iTunes?
Yes, you can. Use the Windows Photos app, iCloud, Google Photos, or even File Explorer to transfer photos without needing iTunes.
Q2. What is the fastest way to transfer a large number of photos?
Using a USB cable is typically the fastest and most stable method, especially for large batches.
Q3. Is it safe to use third-party apps like Google Photos or Dropbox?
Absolutely. Trusted apps like Google Photos, OneDrive, and Dropbox use encryption and security protocols to keep your data safe.
Q4. Do I lose photo quality when transferring via AirDrop or iCloud?
No. AirDrop and iCloud both preserve the original image quality unless you manually choose to compress them.
Q5. Can I delete photos from iPhone after transferring to laptop?
Yes, but make sure the photos have successfully transferred and are backed up before deleting them from your phone.
💡 Need Help with More iPhone Tips?
If you found this guide helpful, don’t forget to bookmark it for later. For more tech tutorials, photo management tips, and iPhone hacks, stay tuned to our blog!
If you are interested this article, now click Here
Related Post

Vivo T4x 5G Smartphone: Price, Features, Full Specifications, and First Impressions.
Credit By Flipkart Vivo has once again shaken up the budget 5G smartphone market with [...]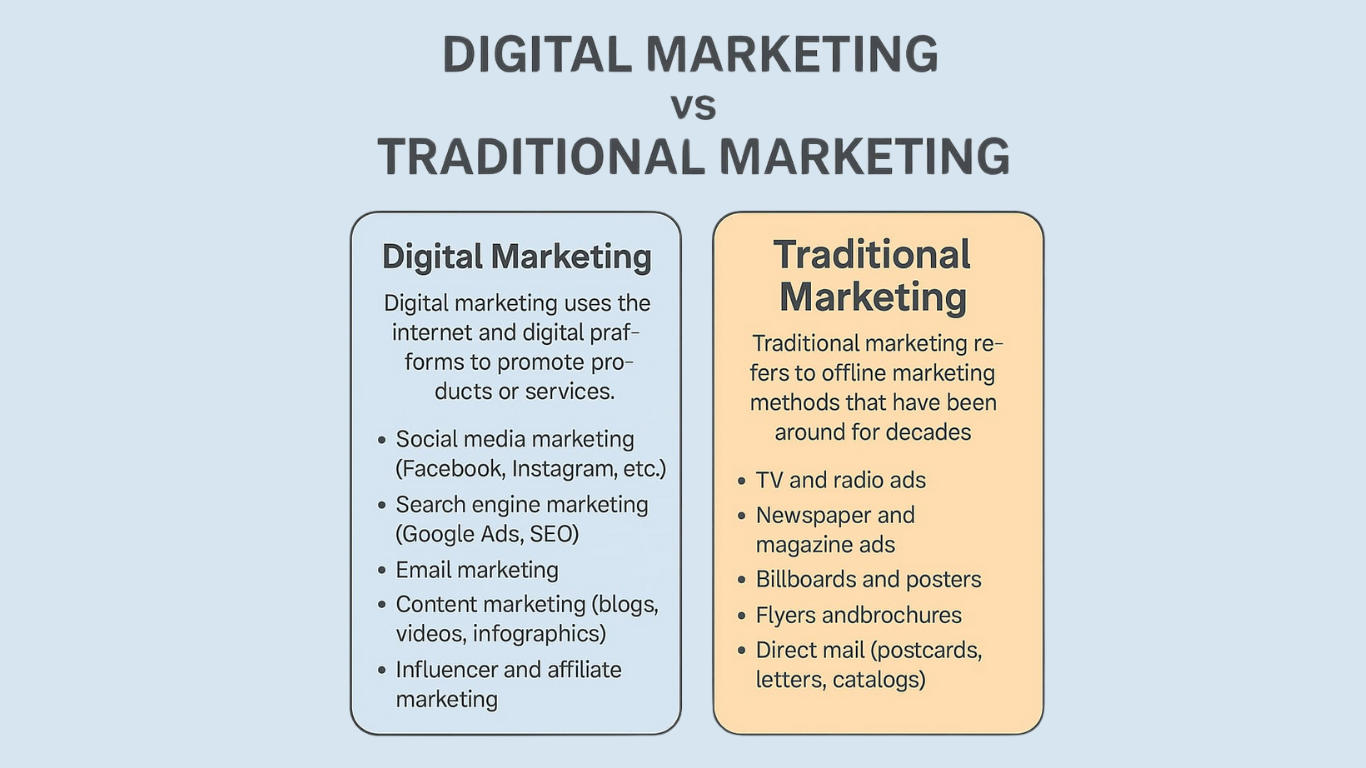
Digital Marketing vs Traditional Marketing – Which 1 is Better for Your Business?
Digital Marketing vs Traditional Marketing, which one is the heart of a successful business.But in [...]